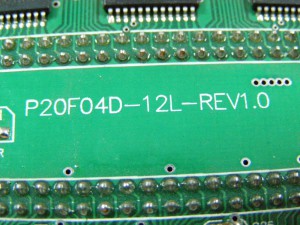
P20F04D-12L display with HUB40A interface and 16×8 2R1G1B pixels
original article in roumanian language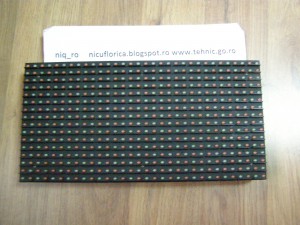 This display module named P20F04D-12L has 16×8 pixels, each made with 2R1G1B leds (2 red leds, one green led & one blue led).
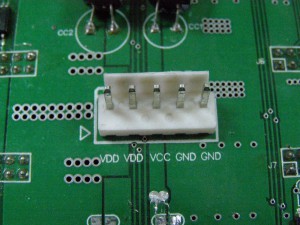
For power supply it use 5V (VCC & two VDDs):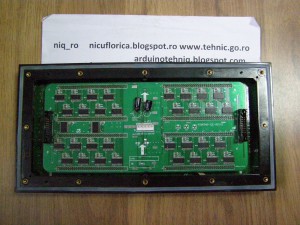
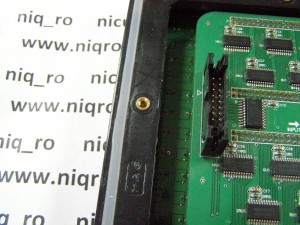
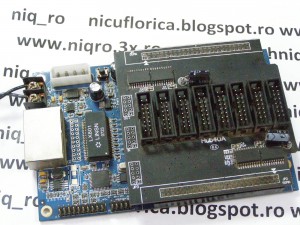
 and interface for control is named HUB40A:
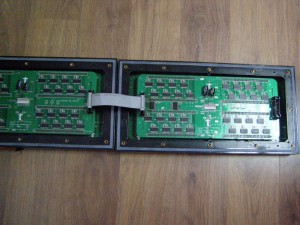
 Usual, this modules are used as street display with maximum 8 rows:
 and cascaded on columns:
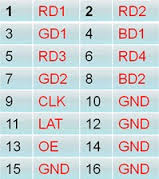
 I search for info about HUB40A interface, but i found few usefull datas:
 and I found on board 2 chips 74HC245 and 32 chips MBI5026.
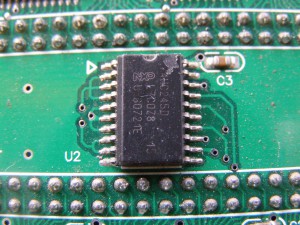
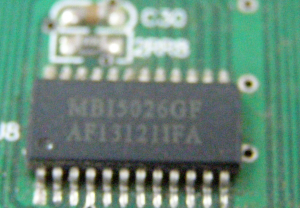 Display has 2 big zone (upper & bottom rows), each with 4 square (4×4):
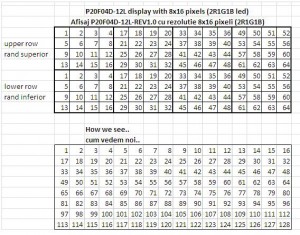 Data is put serial like as ususal shift register, just there is 2 zone & 4 colour (2 red, 1 green & 1 blue):
 For control the display module I use a Arduino with this schematic:
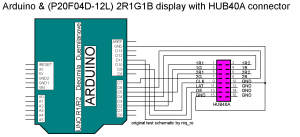
For power this module I use a 5V/40A power supply module (can be used for 4 display modules).
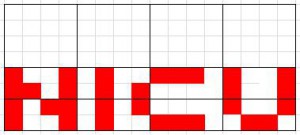
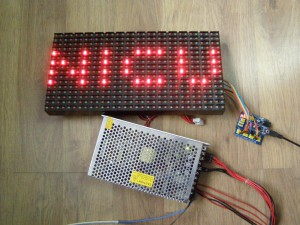
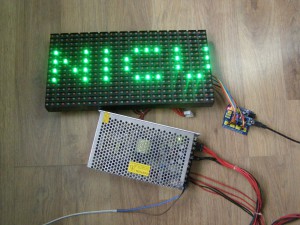
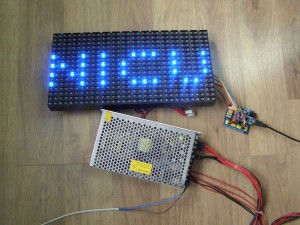
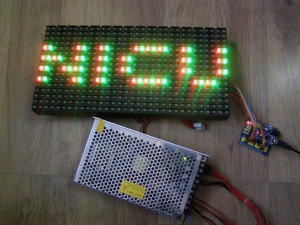
First, I change a sketch from www.arduino.cc/en/Reference/ShiftOut and now I see a “picture” with my name with base colour: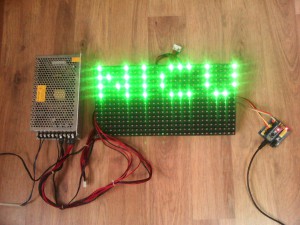
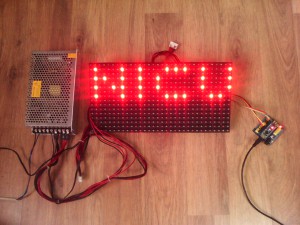
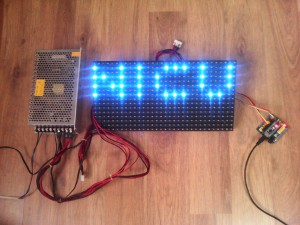 I made a movie named afisaj 2R1G1B cu interfata HUB40A controlat de Arduino
Then, I put 2 colours to made other colour: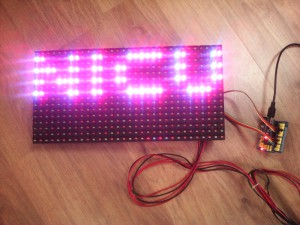
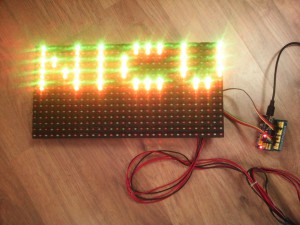
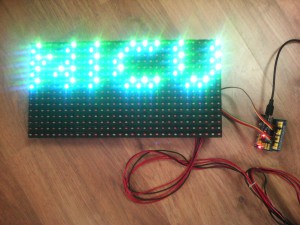 and I made a new movie named afisaj 2R1G1B cu interfata HUB40A controlat cu Arduino (2)
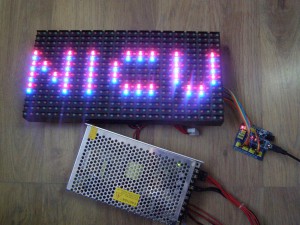
Finally, I put all colour (one red, one blue & one green):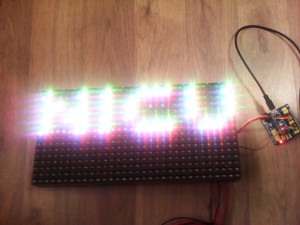 Next step was to put text at bottom zone:
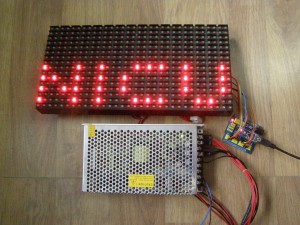
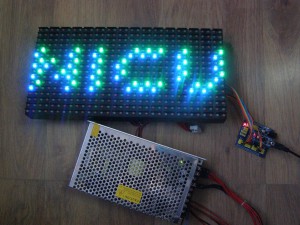
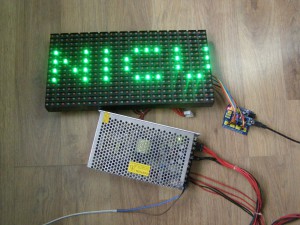 and using both zones:
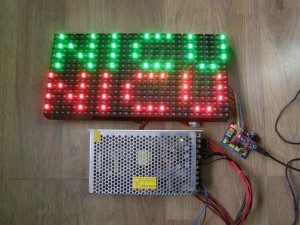 and I made a new movie named afisaj 2R1G1B cu interfata HUB40A controlat cu Arduino (3)
like in movie https://youtu.be/muSU_hueHlk
like in nest movie named afisaj 2R1G1B cu interfata HUB40A controlat de Arduino (5)
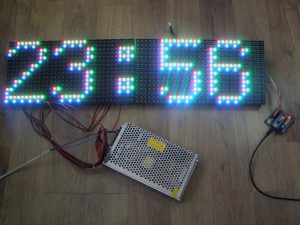
and “white”using one red, one green and one blue: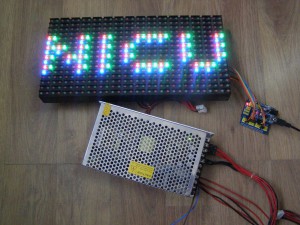 like in movie named afisaj 2R1G1B cu interfata HUB40A controlat de Arduino (6)
For this movie I use sketch HUB40A_test4m1g.ino !!!
I change the “picture” for use all pixels from display: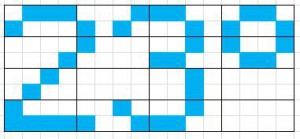 and I got next cases:
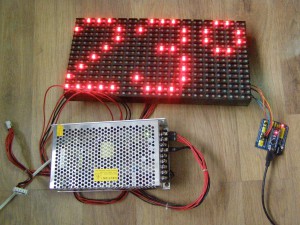
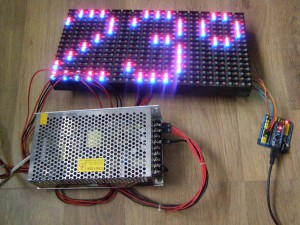
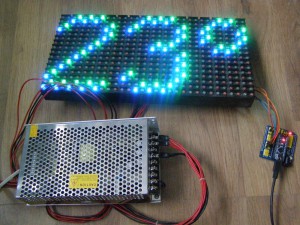
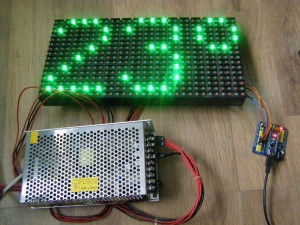
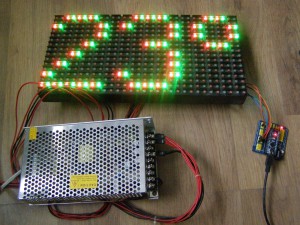
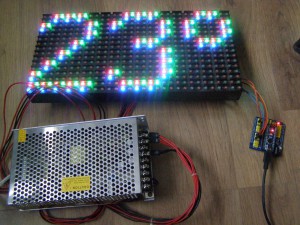
like in movie named afisaj 2R1G1B cu interfata HUB40A controlat de Arduino (7)
For this cases, I use sketch named HUB40A_test4m1h.ino !!!




Hey. I discovered your website by way of Google whilst searching for a related topic, your web site got here up. It looks good. I have bookmarked it in my google bookmarks to come back then.
To Author: Hi, I need help with this code u wrote to the project, Could you help me?
Thx.
code is in article, just click on name of sketch…
link is in article but for easy acces see https://github.com/tehniq3/HUB40A-2R1G1B-display